An MP3 to WAV converter you can listen through first
Most people convert MP3 to WAV because something insists on it: a DJ program, a sampler, a video editor, an older phone system, a CD burning tool or a school assignment upload. Wavify handles that conversion and adds the two things those situations usually need next, a trim and the right sample rate.
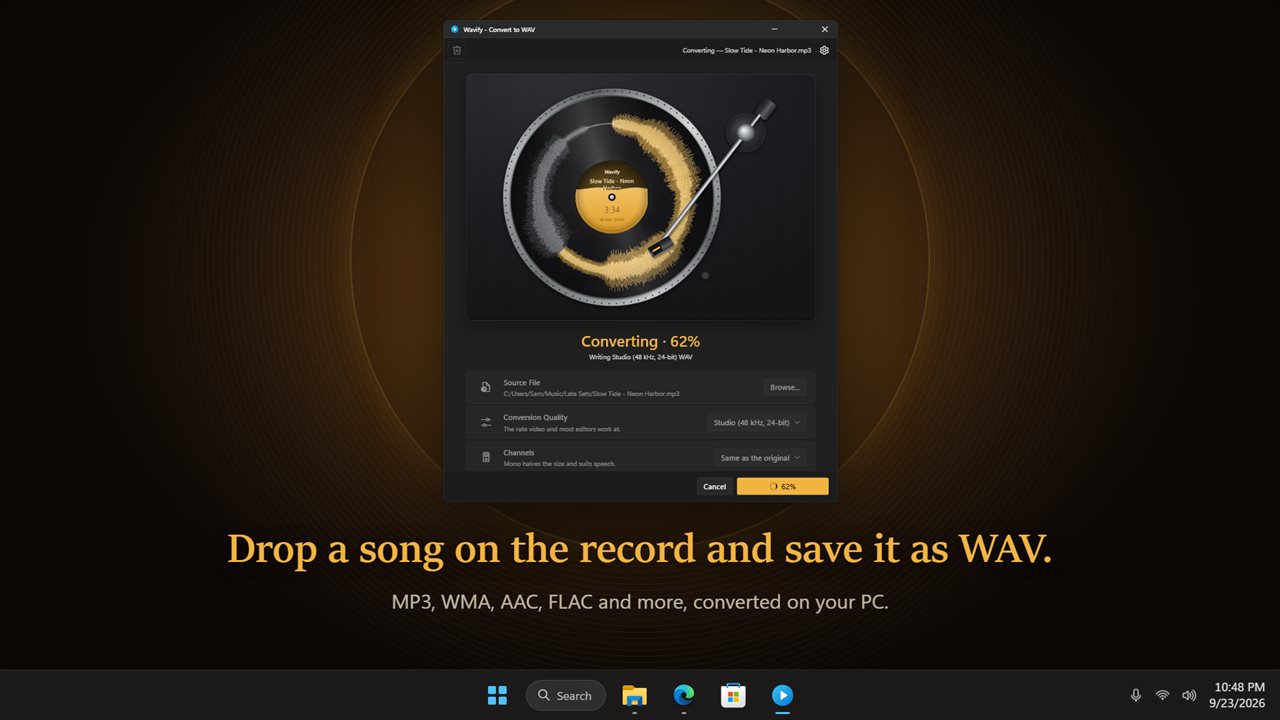
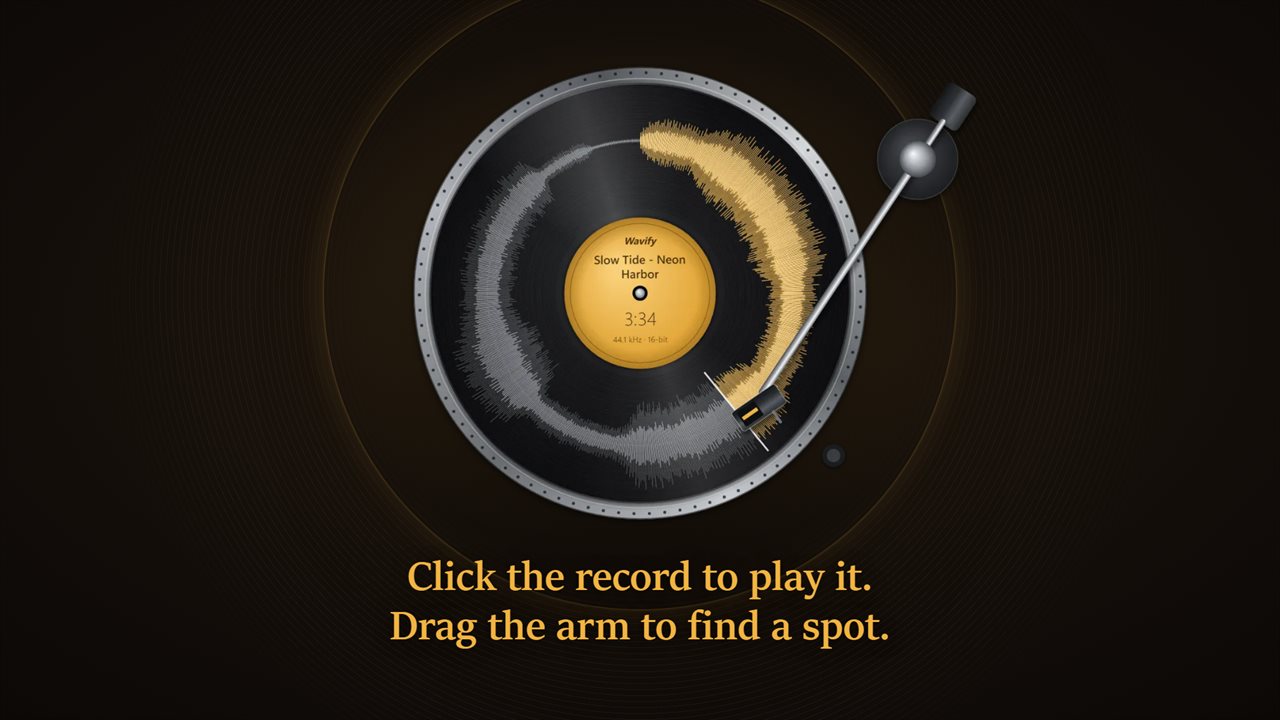
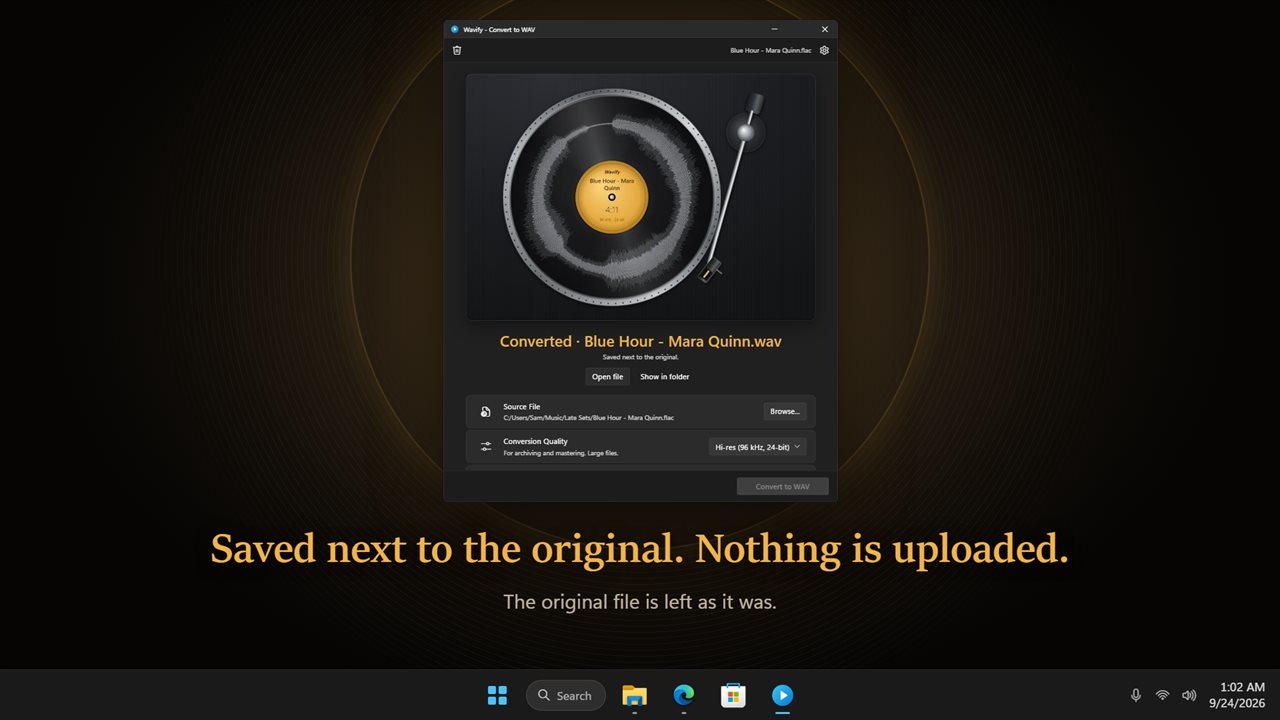
Drop the file onto the record in the middle of the window. Wavify draws the whole waveform around it, so loud passages and silences are visible at a glance, and clicking the record plays the file with the tonearm following along. To skip ahead, drag the arm or click a point on the grooves.
When the settings look right, press Convert to WAV. The new file is written next to the source under the same name with a .wav extension, and the source is never touched. Open file and Show in folder appear as soon as it is done.
How to convert MP3 to WAV in four steps
The window works top to bottom.
- Drop an MP3 (or any supported file) onto the record. Clicking the empty record opens a file browser instead.
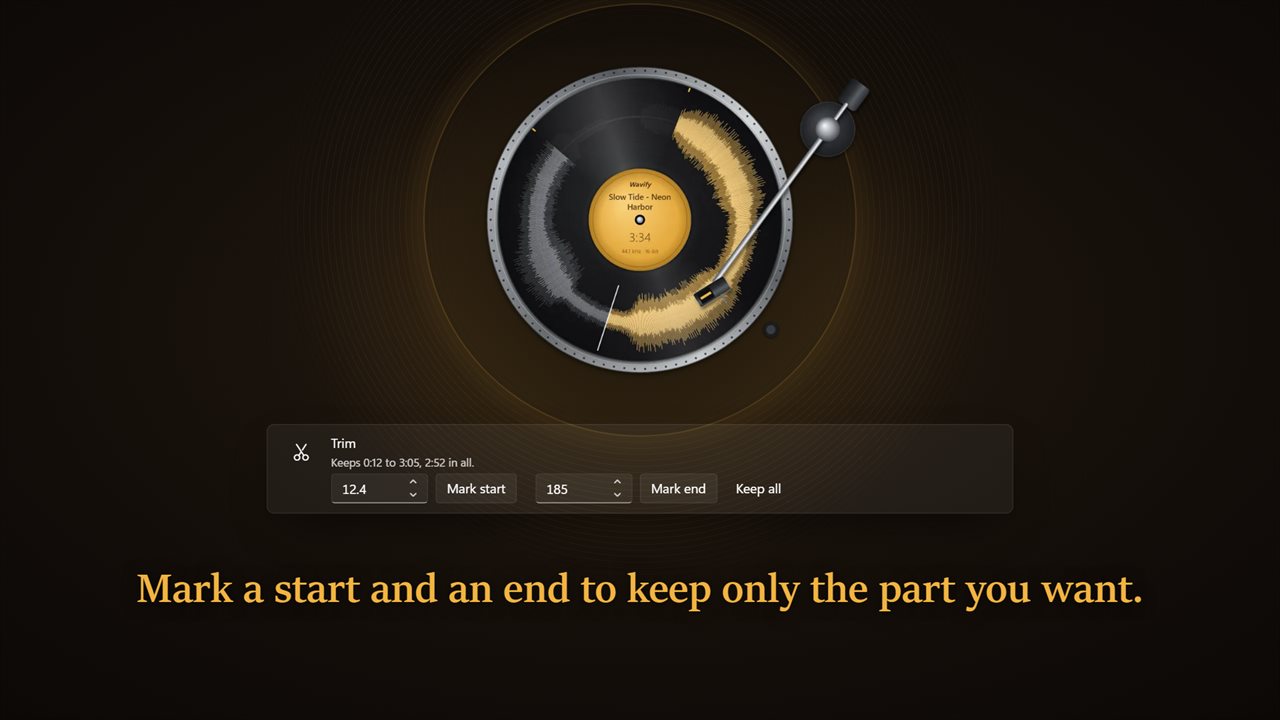
- Play it, then use Mark start and Mark end at the tonearm's position, or type the seconds, to keep only part of it. The line underneath shows the kept span and its length.
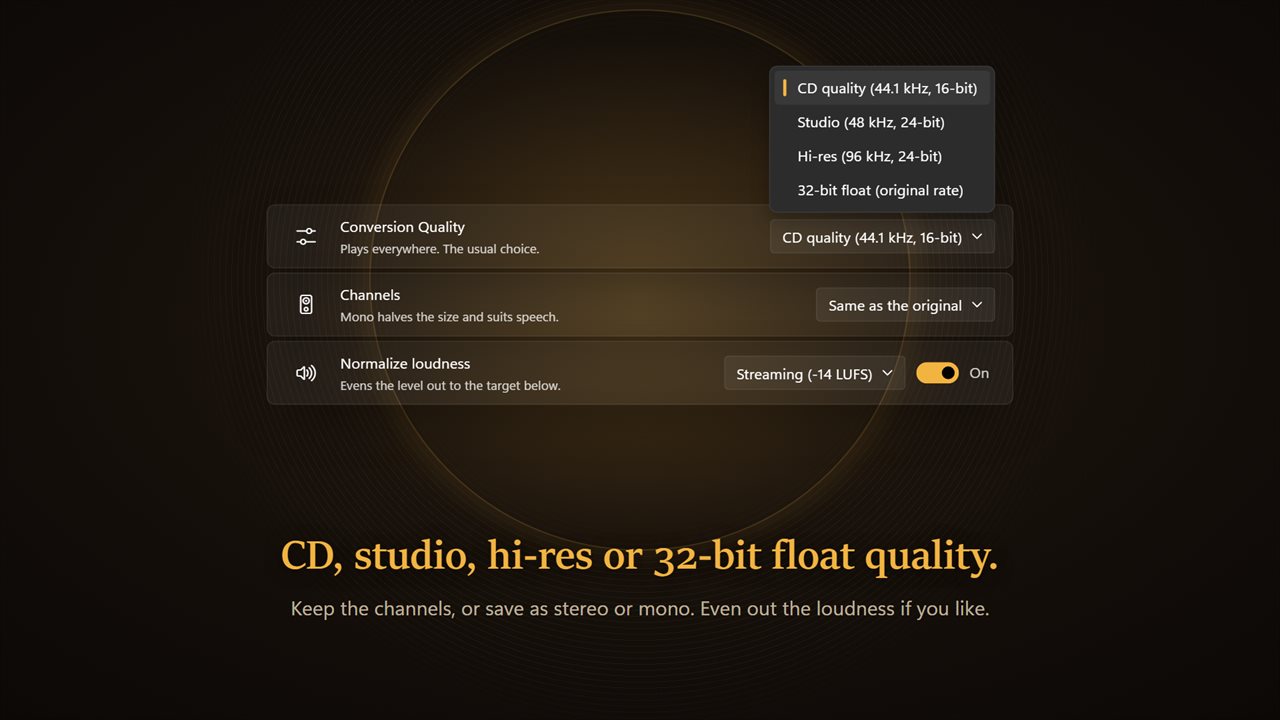
- Under Conversion settings, choose a Conversion Quality and a Channels option, and turn on Normalize loudness if you want an even level.
- Press Convert to WAV, then watch the label fill as it works.
MP3 vs WAV: what converting does and does not change
An MP3 is compressed by throwing away sound the encoder judged you would not miss. A WAV stores audio uncompressed. Converting MP3 to WAV gives you a file any audio program can open without decoding, but it cannot bring back what the MP3 discarded, so the WAV will sound the same as the MP3 while taking up roughly ten times the space. If you still have a lossless original, such as a FLAC, start from that instead; Wavify reads FLAC too.
Pick the quality to match where the file is going. CD quality (44.1 kHz, 16-bit) is the safe choice for burning discs and for players and hardware that accept WAV. Studio (48 kHz, 24-bit) matches the rate video projects and most editors use, so dropping it on a timeline needs no resampling. Hi-res (96 kHz, 24-bit) suits archiving and mastering work. 32-bit float (original rate) keeps the file's own rate and never clips, which is ideal for a file headed into a mixing session.
Channels can stay the same as the original or be forced to Stereo or Mono. Mono halves the file size and is all a voice recording needs.
M4A to WAV, FLAC to WAV and MP4 to WAV
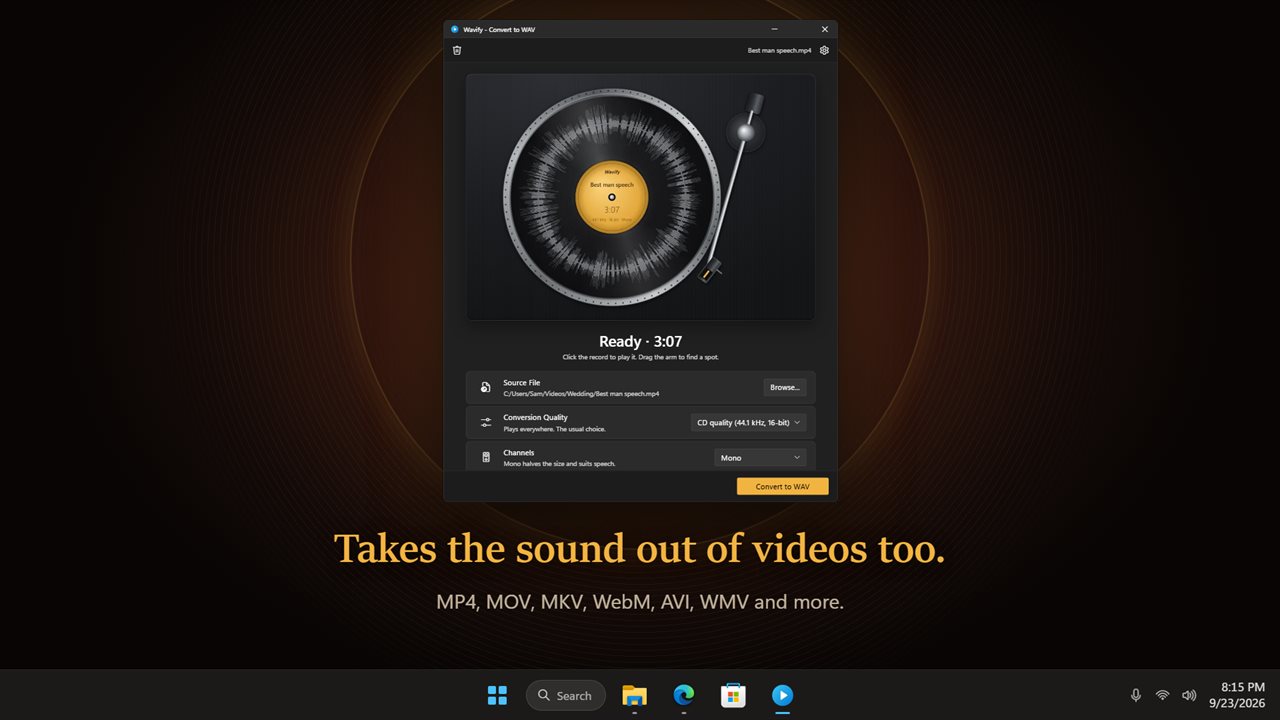
MP3 is only the most common starting point. Wavify also reads M4A, AAC, FLAC, OGG, Opus, WMA, AIFF, AMR, AC3 and MKA audio, and it pulls the soundtrack out of video files including MP4, MKV, MOV, AVI, WebM, MPG, WMV, TS, FLV, VOB and 3GP. A video that has no audio track is flagged before you try.
Normalize loudness levels the result to one of three targets: Streaming (-14 LUFS), Podcast (-16 LUFS) or Broadcast (-23 LUFS), while keeping peaks below -1.5 dB true peak. That is useful when a voice memo is too quiet next to other clips, or when a podcast host or broadcaster specifies a level.