A DDS viewer for game textures, without a graphics suite
DDS, short for DirectDraw Surface, is the texture format games load straight into the graphics card. Modders, level designers and anyone digging through a game's files run into thousands of them, and Windows gives you no way to look inside. The usual workaround is an image editor with a plugin installed just to peek at one file.
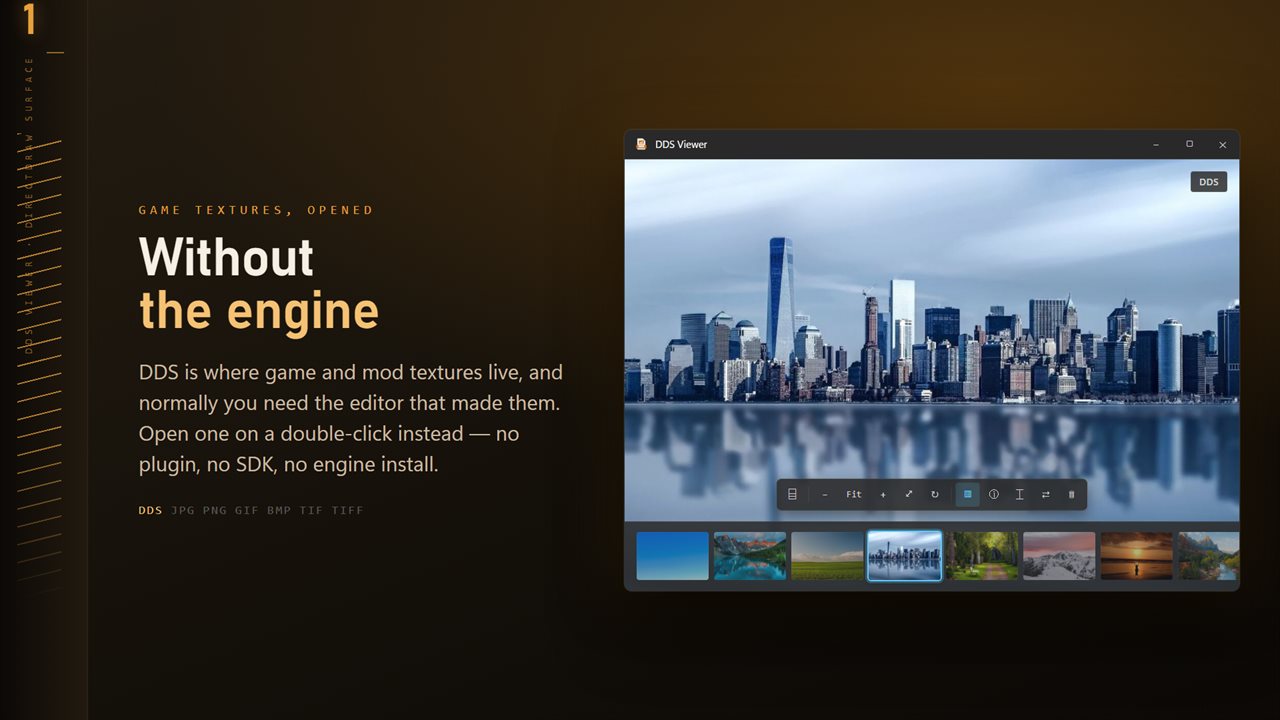
This DDS viewer just opens them. Make it the default app for .dds and a double-click shows the texture; you can also drop a file on the window or press Ctrl+O. The rest of the folder is a keypress away: press T for a ribbon of thumbnails, or step with the left and right arrow keys.
It shows the first image stored in the file, which for a mipmapped texture is the full-size level. Smaller mip levels and the extra faces of a cube map are not displayed.
How to convert DDS to PNG
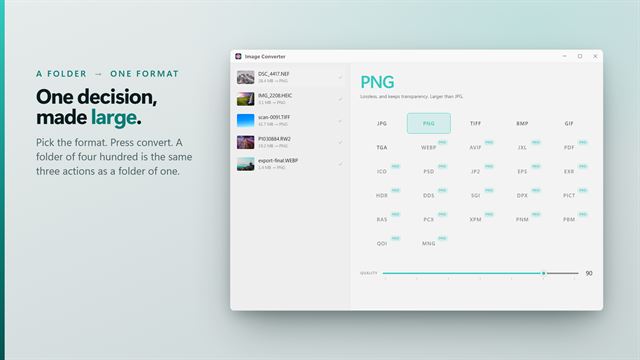
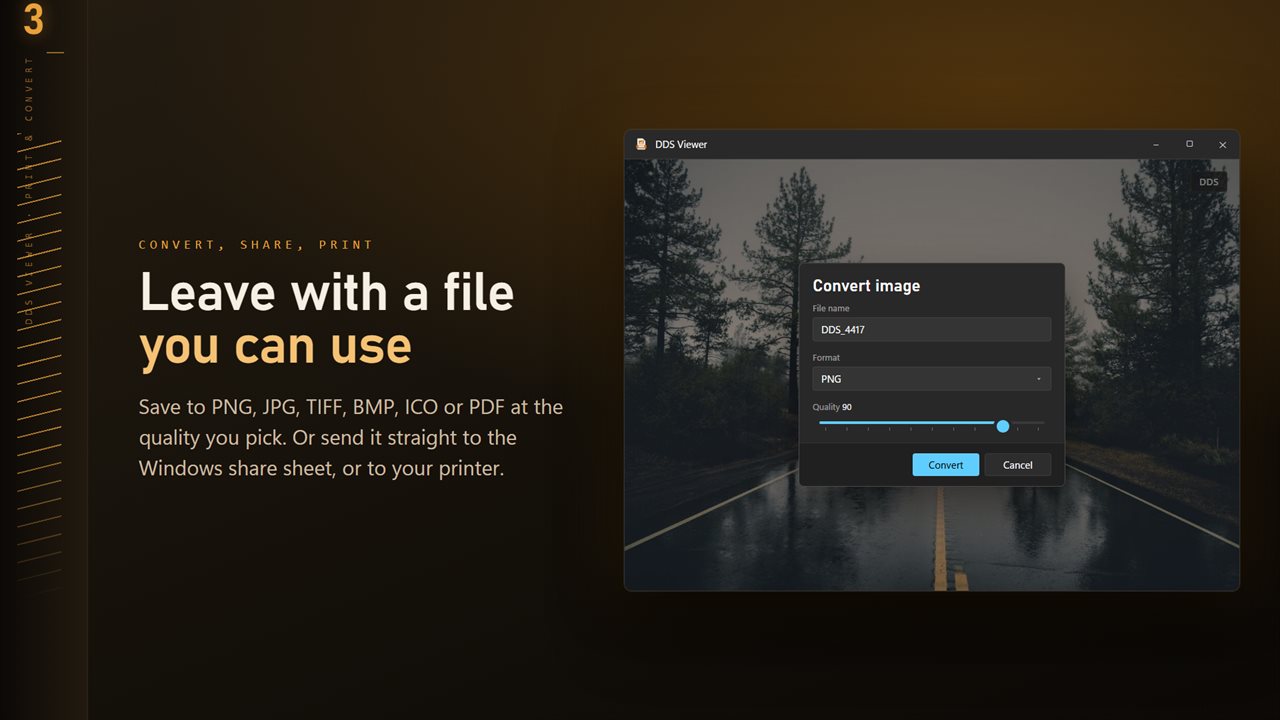
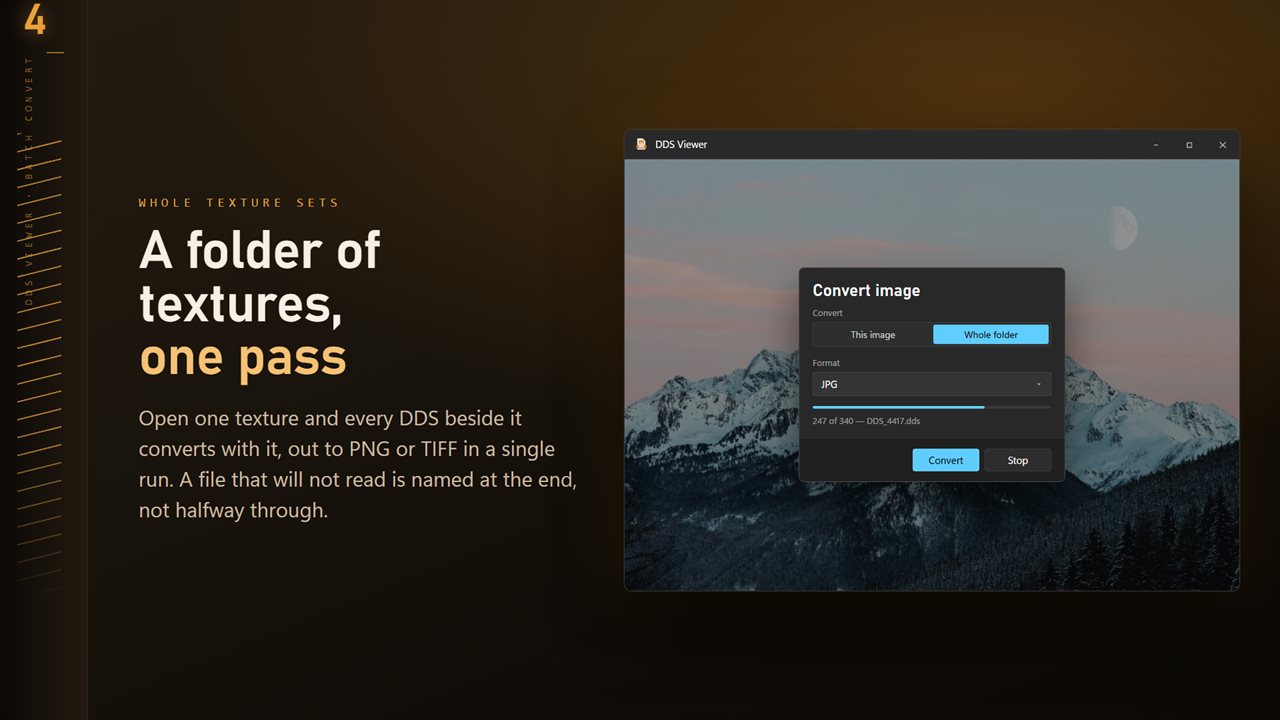
Open a texture and choose Convert image from the More menu. Pick This image for one file or Whole folder to export every image in that folder at once; subfolders are not included.
Set Format to PNG and choose where the files go. Existing files controls clashes, with Skip, Keep both or Replace. A file the converter cannot read is counted as failed in the closing summary instead of stopping the run, which matters when a game folder holds a few unusual variants.
Keeping transparency when you export a DDS
Many textures carry an alpha channel for foliage, decals or UI elements. The on-screen view is drawn from a JPEG preview, so transparent areas do not show as a checkerboard. The alpha is still in the file, and it survives conversion to PNG or TIFF.
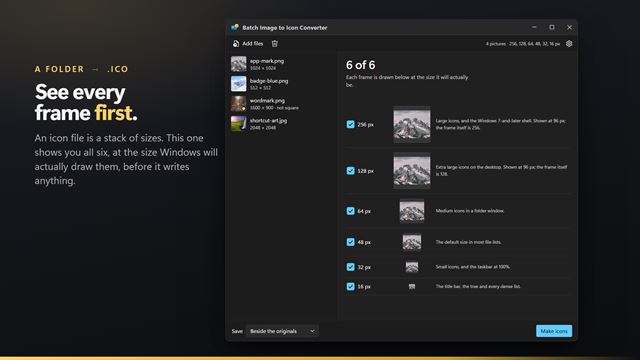
JPG and BMP have no transparency, so use them only for opaque textures such as terrain or skyboxes. To make an icon from a texture, choose ICO; anything larger than 256 pixels is scaled to fit 256 by 256.
Looking closely at a texture
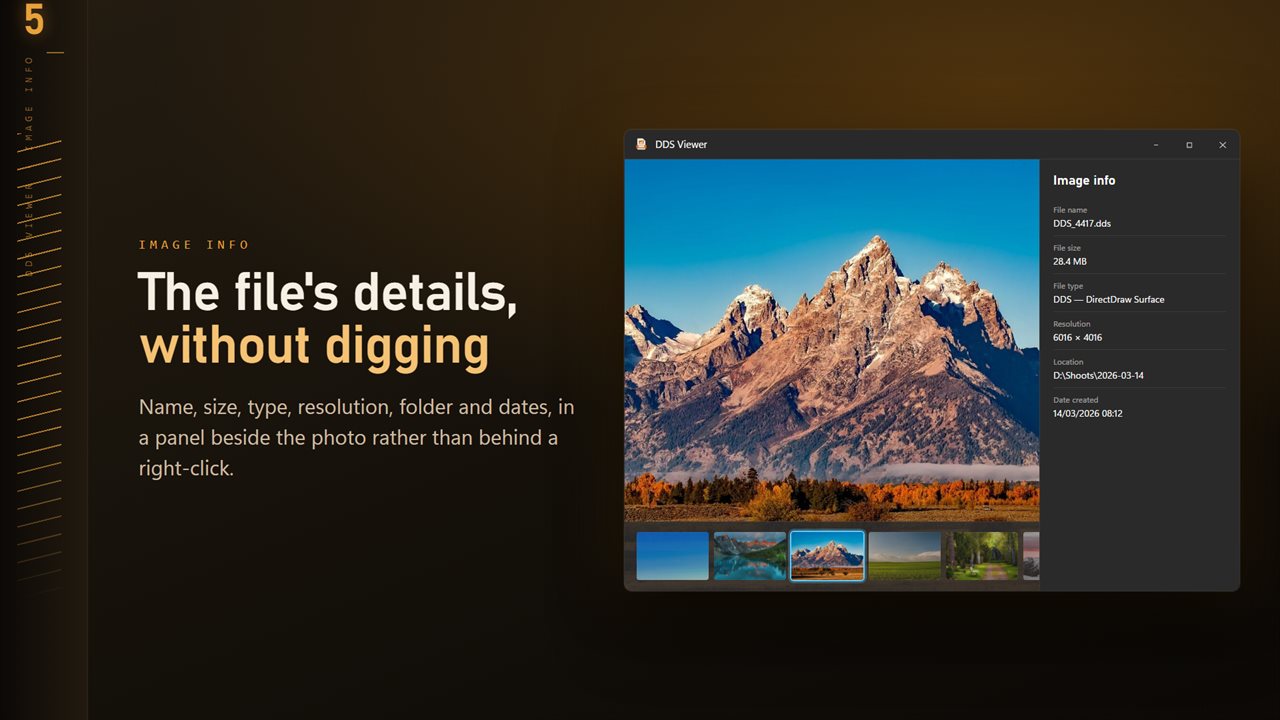
Zoom with the mouse wheel or the plus and minus keys and drag to pan around a large atlas. F fits it back to the window, R rotates a quarter turn, and H or V flips it, handy for checking a mirrored UV layout. The info panel, opened with I, lists the pixel dimensions, file size and dates.
Settings can put near black, mid gray or white behind the image, so dark and light textures are easy to read, and Open photos at can start every file at Actual size.