An icon converter that checks every size before it builds
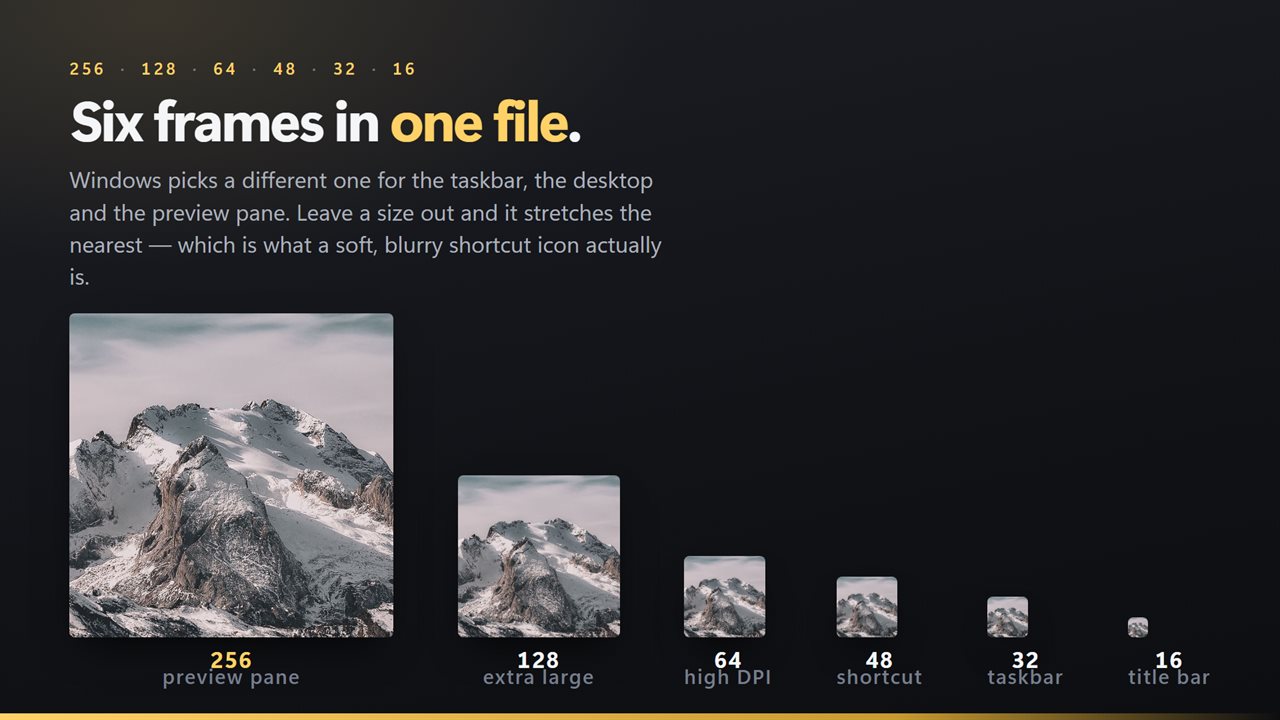
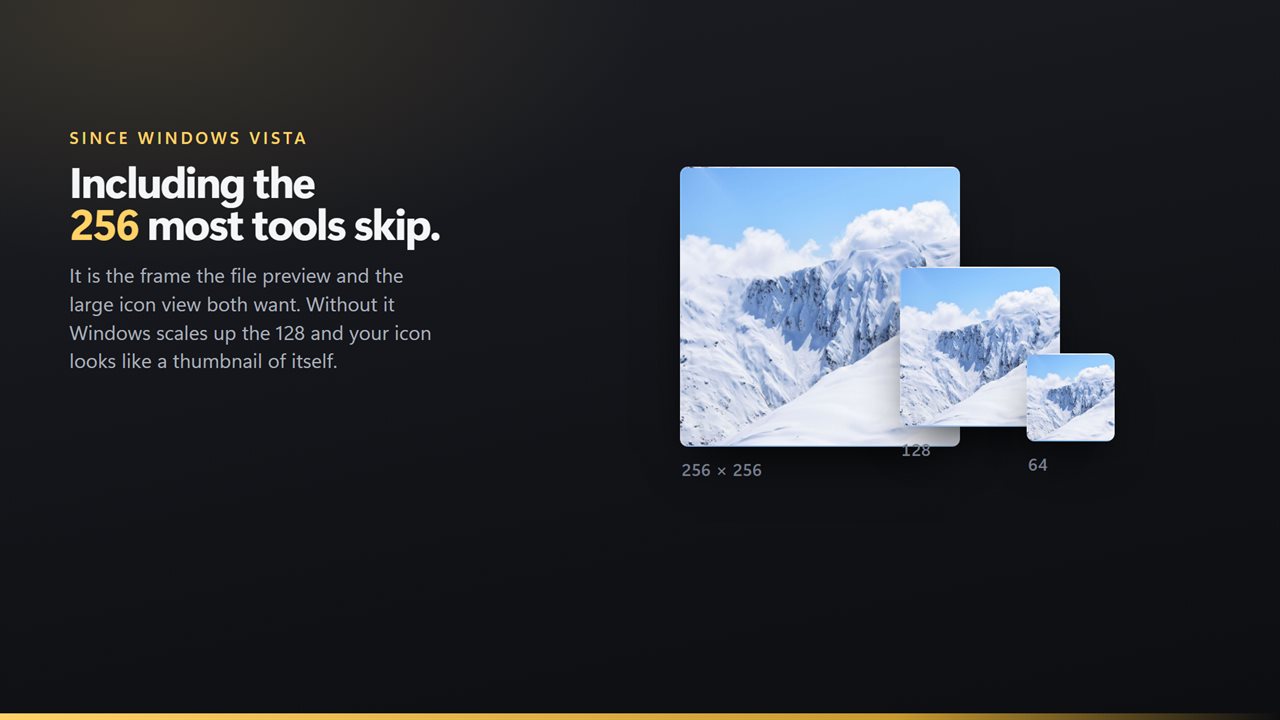
Inside every Windows .ico sits a set of separate images, one per size, and Windows chooses the closest match for the job: the 16-pixel frame for a title bar, 32 for the taskbar, 48 for a file list, 256 for large icon views. When an icon carries just one size, Windows has to stretch or shrink it on the fly, which is why some icons look smeared or jagged.
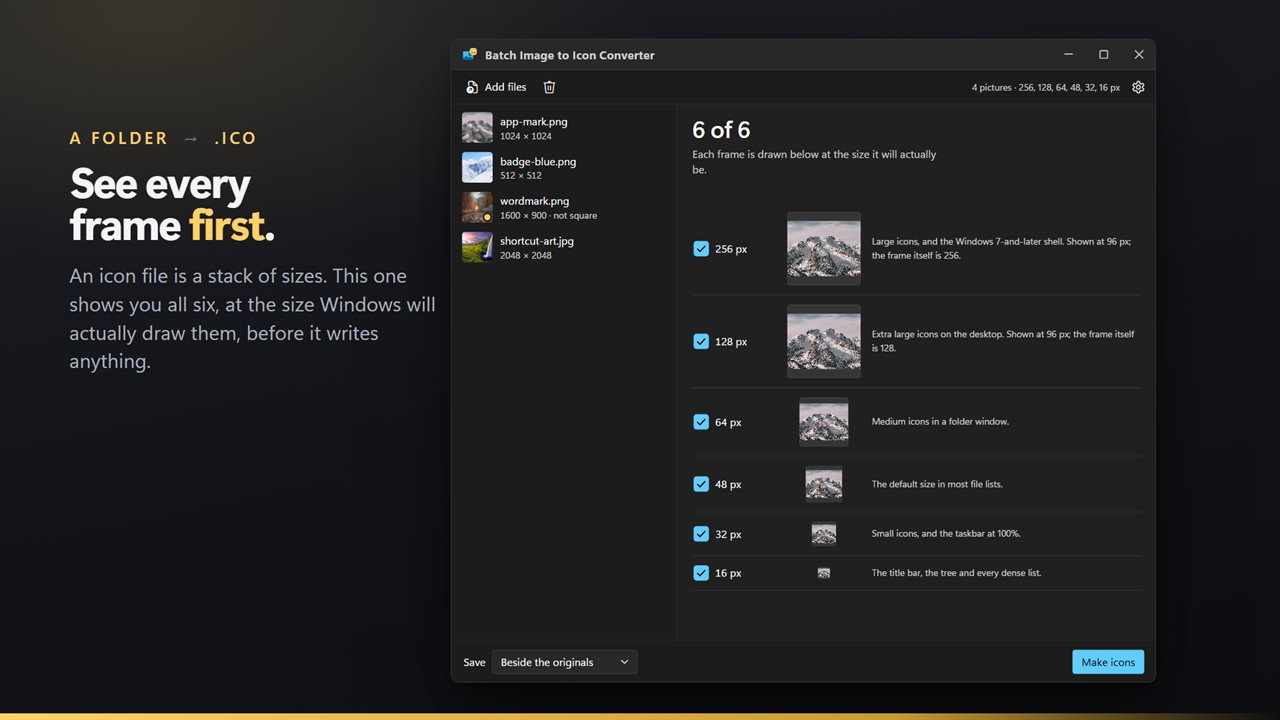
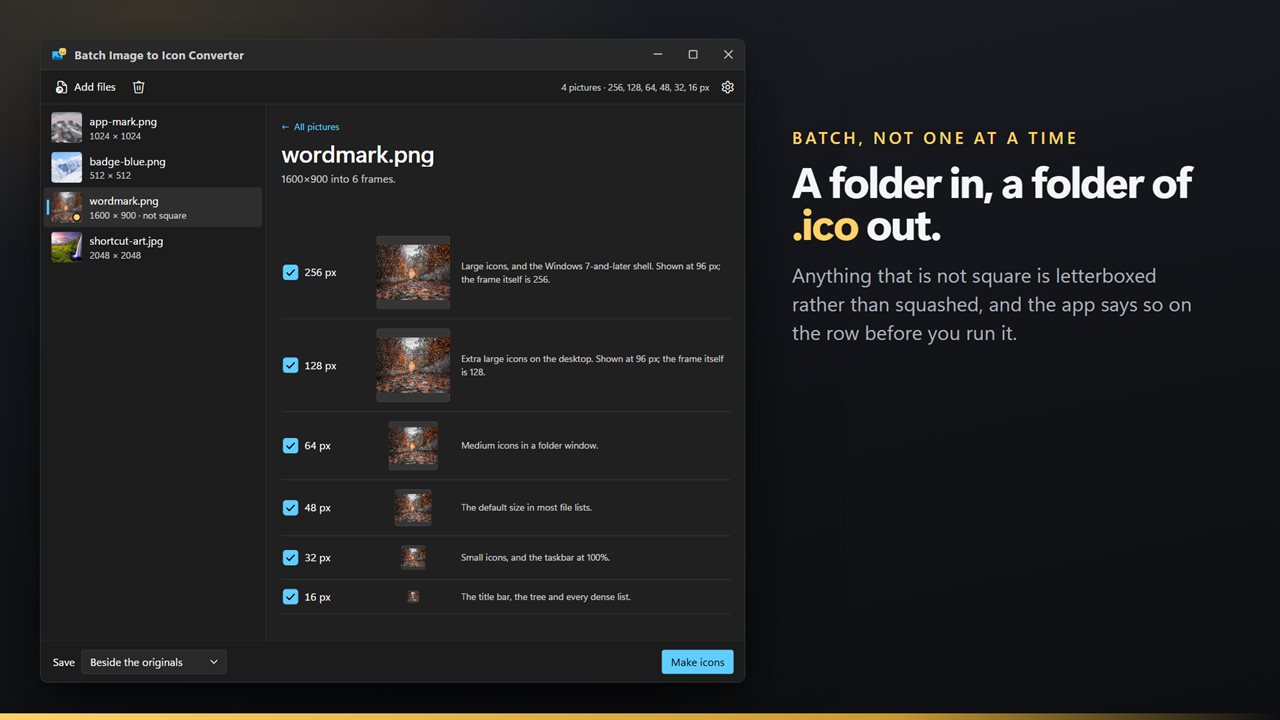
This icon converter writes six standard frames into every icon it makes: 16, 32, 48, 64, 128 and 256 pixels. The Frames pane draws your picture at each size, at its real pixel dimensions for 16 through 64, so you can see whether a logo still reads at 16 pixels before you build forty icons from it. The two largest are previewed at 96 pixels to fit the pane.
And it works on a batch. Drop in a directory full of product marks or app artwork, press Make icons, and each picture becomes its own .ico file.
Create ICO files from a folder of pictures, step by step
Click a picture in the queue to load it into the frames, which is the quickest way to spot the one logo in a set that falls apart at small sizes. Your source files are never changed, and if an .ico with the same name is already there, the new one gets a number rather than replacing it.
- Drag pictures or a folder onto the window, or select Add pictures.
- Check the queue. Each row shows width and height, and anything that is not square is flagged not square.
- In the Frames pane, untick any sizes you do not want. At least one has to stay.
- Under Save, choose Beside the originals or Into a folder, then press Make icons.
ICO sizes explained, frame by frame
The pane labels each frame with where Windows uses it:
- 256 px: large icons and the modern Windows shell.
- 128 px: extra large icons on the desktop.
- 64 px: medium icons inside a folder window.
- 48 px: the default in most file lists.
- 32 px: small icons, plus the taskbar when display scaling is 100%.
- 16 px: title bars, the navigation tree and dense lists.
Getting good results from oblong or small pictures
Icons are square. A picture that is wider or taller than it is high or wide is fitted into the square without stretching, and the spare space is left transparent. To fill the frame edge to edge, crop to a square beforehand; rows marked not square are the ones to fix.
Aim for sources of 256 pixels or more across. A smaller source has to be enlarged to make the 256 frame, which looks soft, and the pane warns how many pictures in the batch are under 256 pixels wide before you run it.
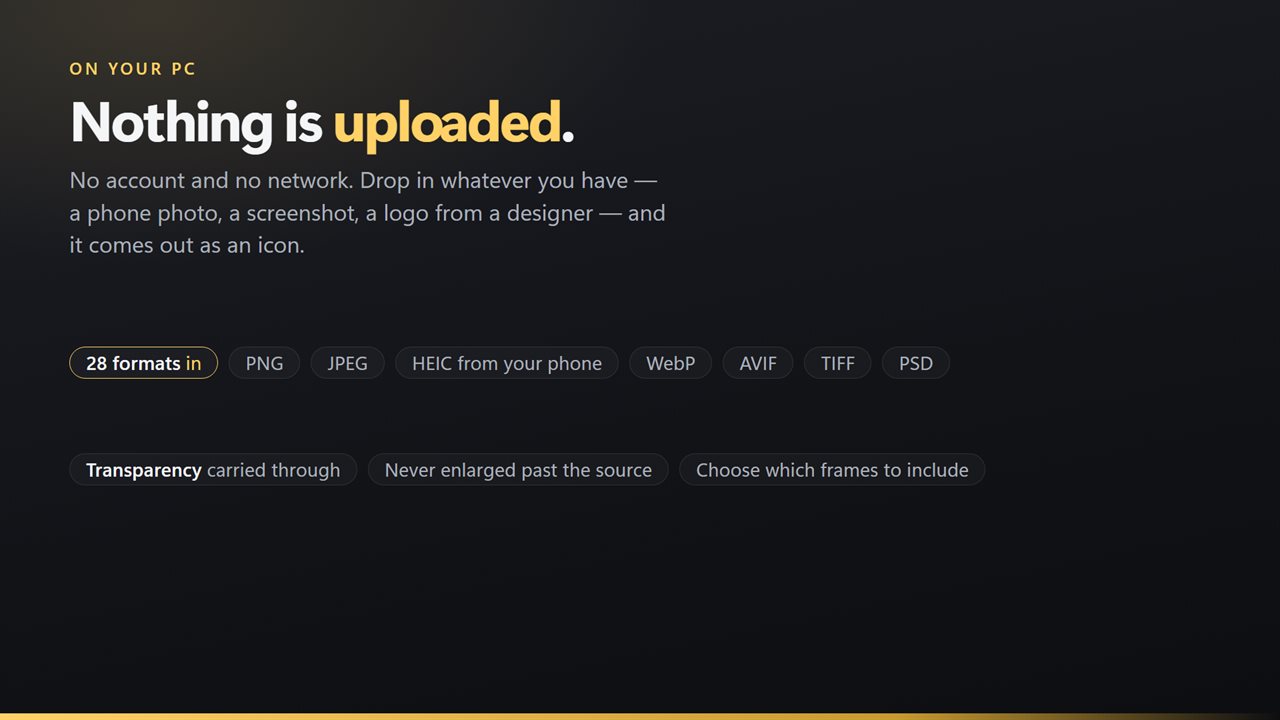
Sources can be nearly any bitmap: phone photos in HEIC, layered PSD files, game textures in TGA or DDS, JPEG XL, AVIF, plus the everyday PNG, JPG, GIF, BMP, TIFF and WebP, even another ICO. SVG is the exception; render vector art to a PNG before adding it.