Bulk compress images and get an honest number back
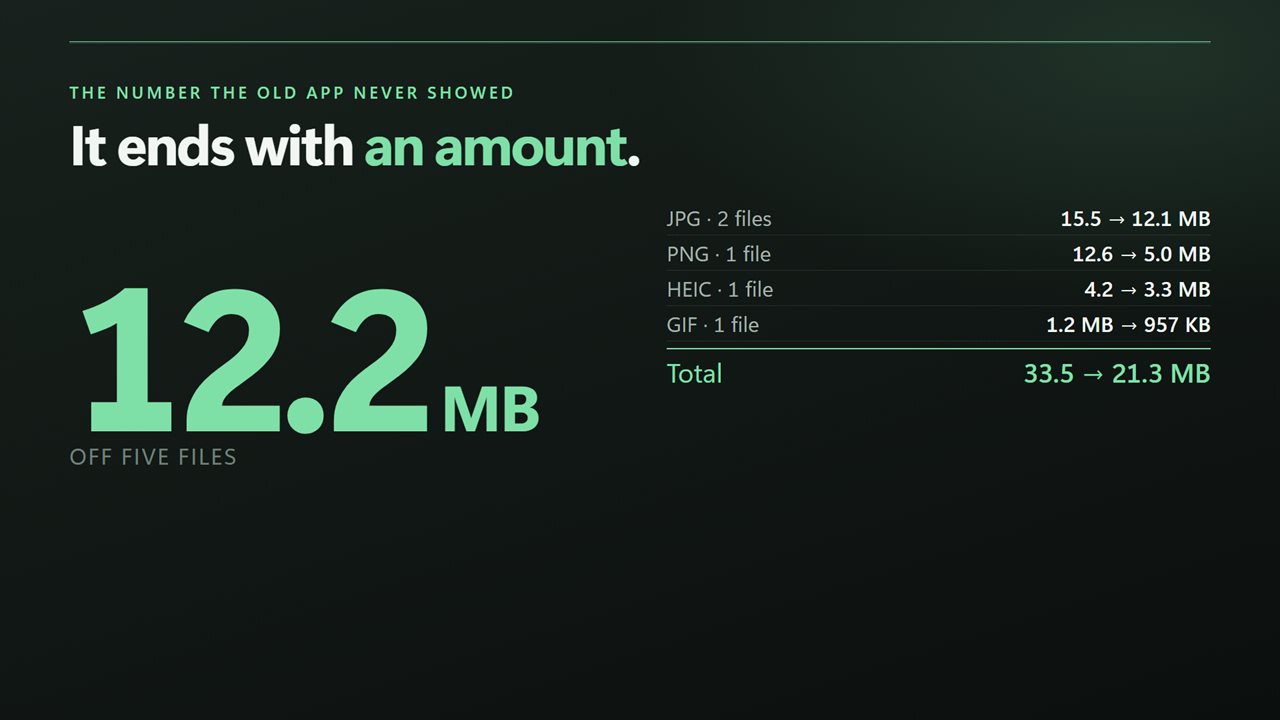
When you bulk compress images, the question you actually care about is how much space you got back. Many tools compress a folder and leave you to compare file sizes in Explorer afterward. Bulk Image Compress is built around that number.
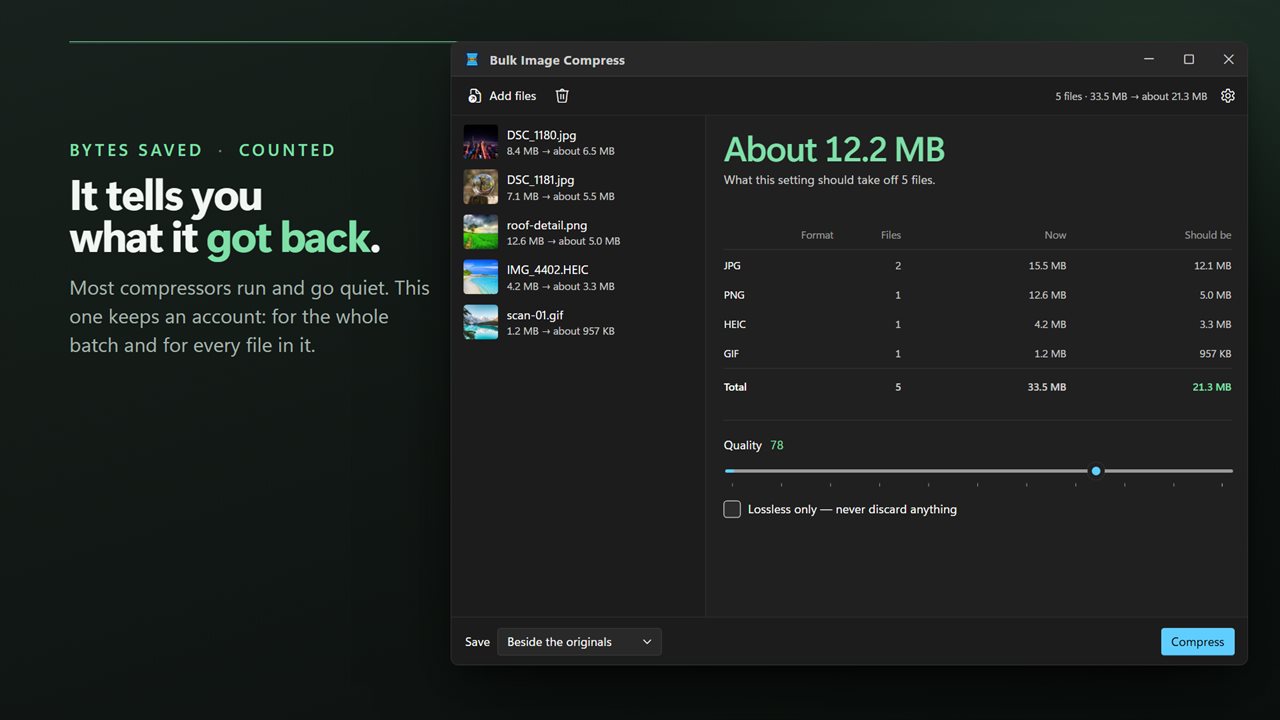
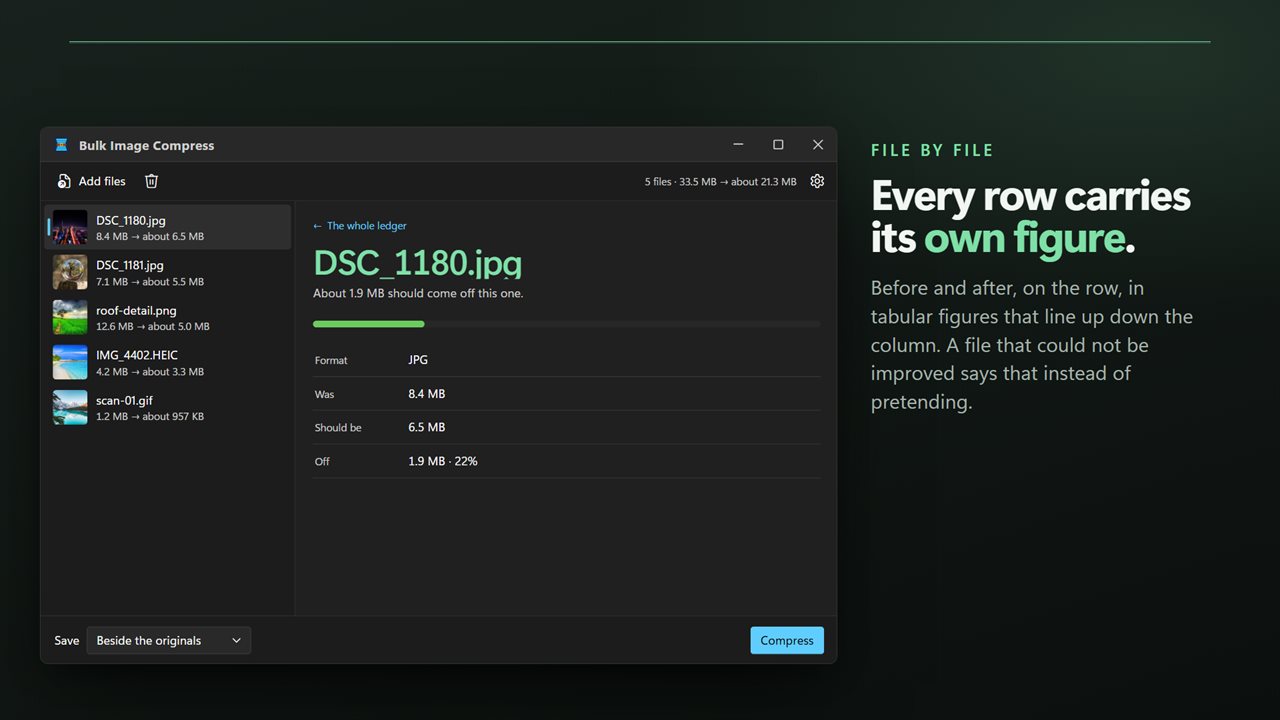
Drop in a folder of photos, screenshots or scans and the side pane becomes a ledger. It groups the queue by format, JPG, PNG, WebP and so on, with how many files of each, how much they weigh now, and how much they should weigh at the current setting. Move the Quality slider and the estimate moves with it. Press Compress and the estimate is replaced by the real figures for every row and for the total.
Each image is written back in its own format at its own width and height, so a JPEG stays a JPEG and nothing is resized. Only the encoding changes.
How to reduce image file size for a whole folder
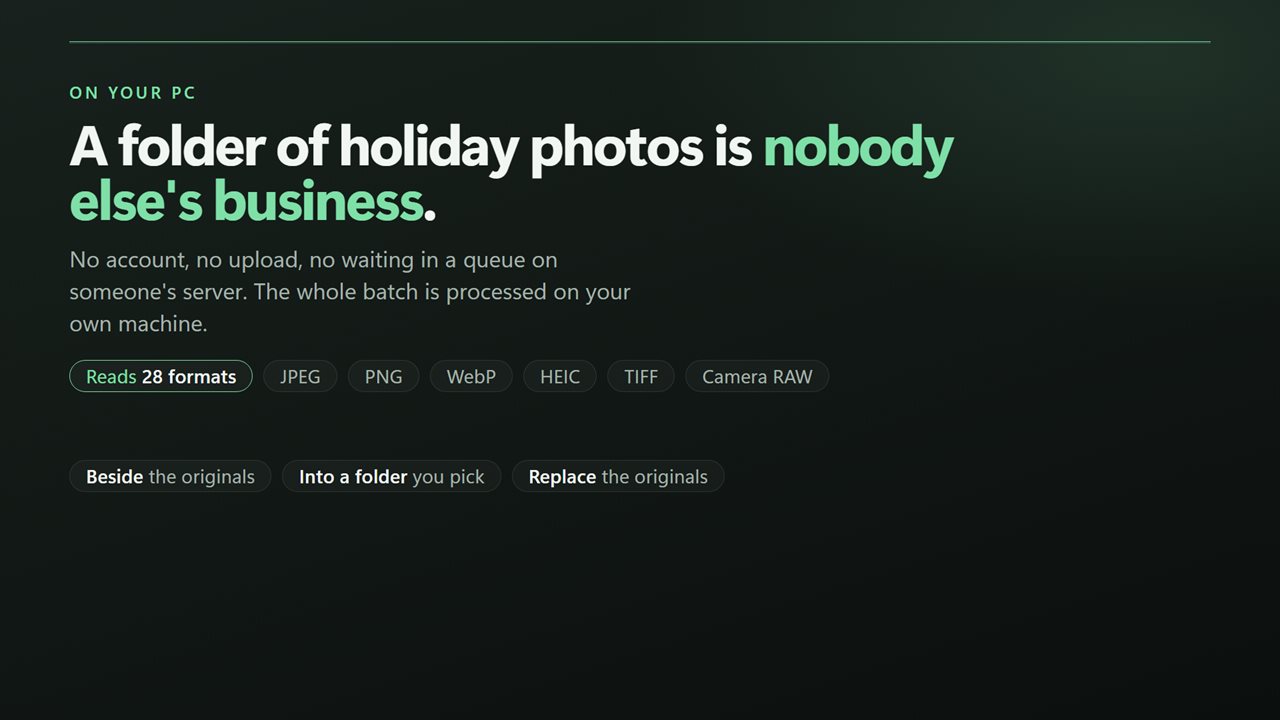
Saved beside the originals, each copy gets (compressed) added to its name. Replacing the originals asks you to confirm first and swaps each file only after its new version has been written successfully.
- Select Add pictures, or drag files or a folder onto the window.
- Set Quality between 30 and 95. It starts at 78, a good balance for photos.
- Choose where results go under Save: Beside the originals, Into a folder, or Replace the originals.
- Press Compress, then read the ledger. Click any file to check its own before and after.
Lossless image compression for PNG, WebP and TIFF
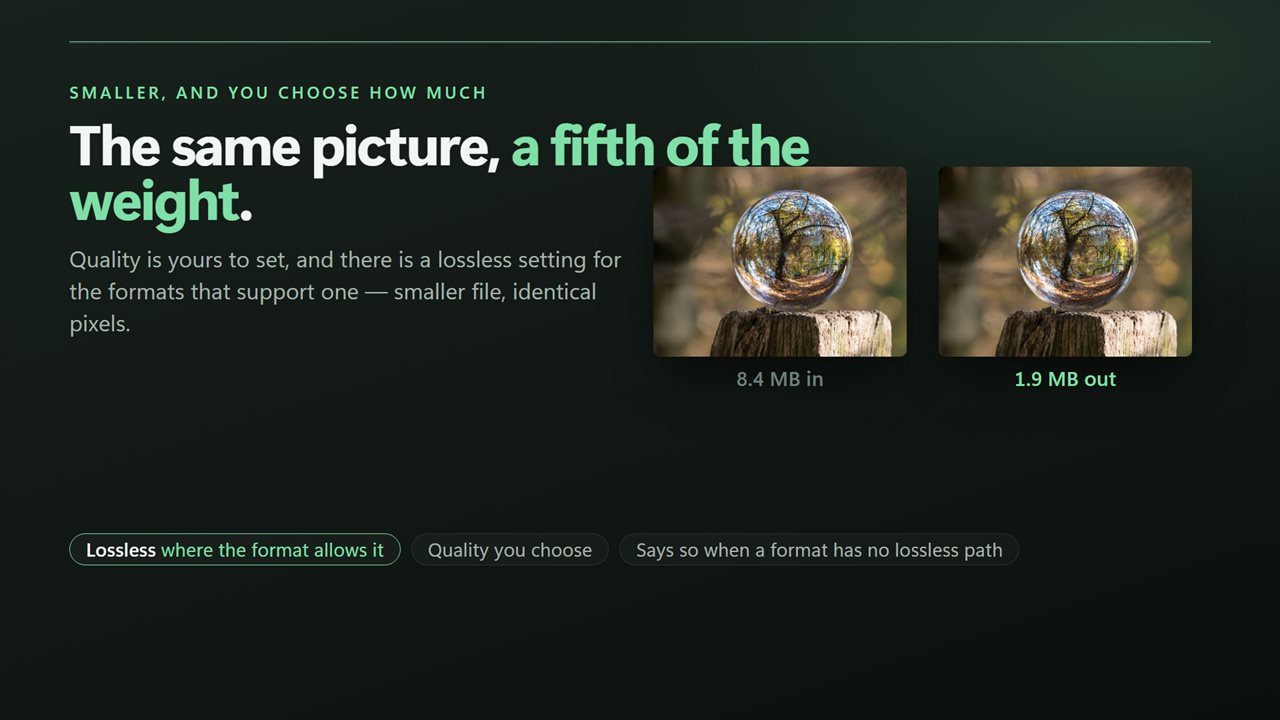
Tick Lossless only, never discard anything and the Quality slider disappears. PNG files are re-saved with the heaviest compression level and filtering, WebP switches to lossless mode with its slowest, most thorough search, and TIFF is written with LZW compression. The pixels are identical afterward; only the packaging is tighter.
JPEG has no lossless mode. With the box ticked, JPEG rows are flagged as unlikely to gain anything, so you know before you run why those files will barely change. If your folder is mostly phone photos, untick it and use Quality instead.
Choosing a quality setting for photos and web images
Quality matters most for JPEG and lossy WebP. Around the default of 78, photos look the same at normal viewing sizes and files are typically much lighter. Drop toward 60 for web thumbnails or email, where speed matters more than detail. Go above 90 only when you need to keep every bit of detail.
A file that was already heavily compressed can come out slightly larger, because there is nothing left to squeeze. The row says so rather than hiding it.
Two other changes happen to every output. Camera rotation is applied to the pixels, so portrait shots stay upright in every viewer. EXIF data, including the date taken, camera model and GPS location, is left out, while the color profile is kept so colors stay true. HEIC photos can be read but not compressed, because the app cannot write HEIC.