Reduce image size in KB without trial and error
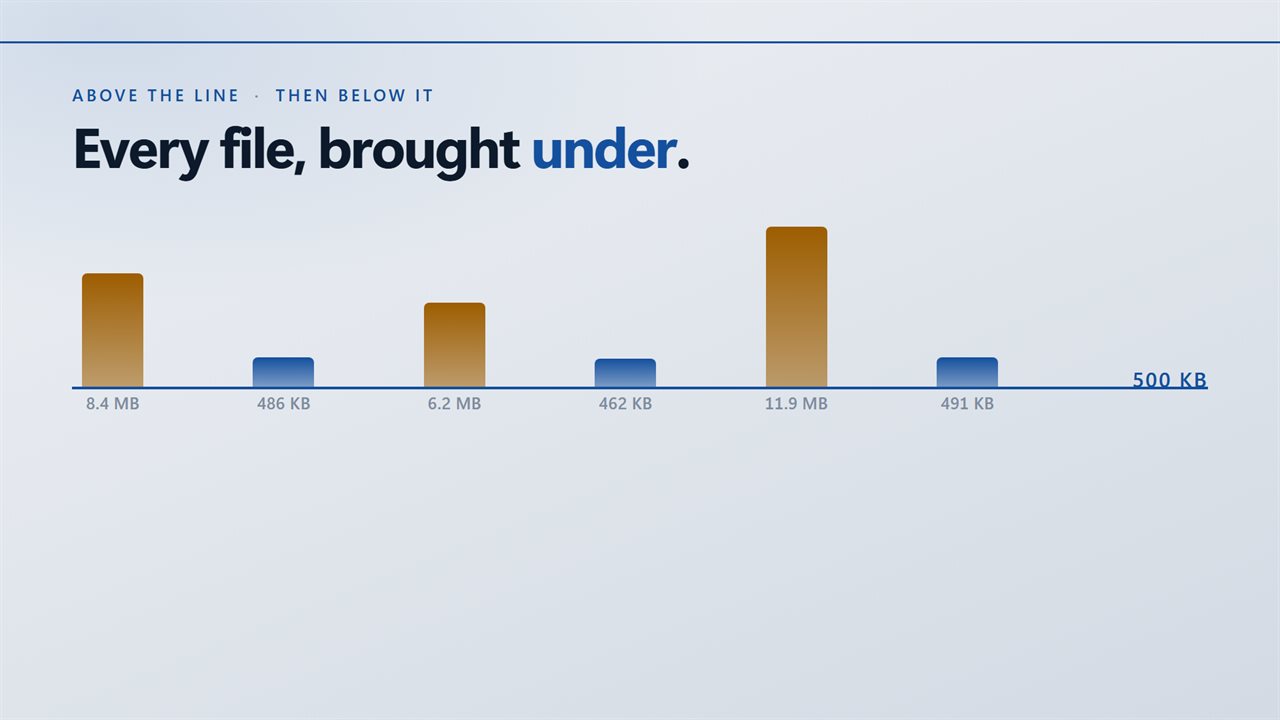
Upload forms, job sites, government portals and content systems rarely ask for a quality level. They give a ceiling: photo must be under 200 KB, attachments under 1 MB. Getting a picture there by hand means saving, checking the size, saving again lower, and repeating for every file.
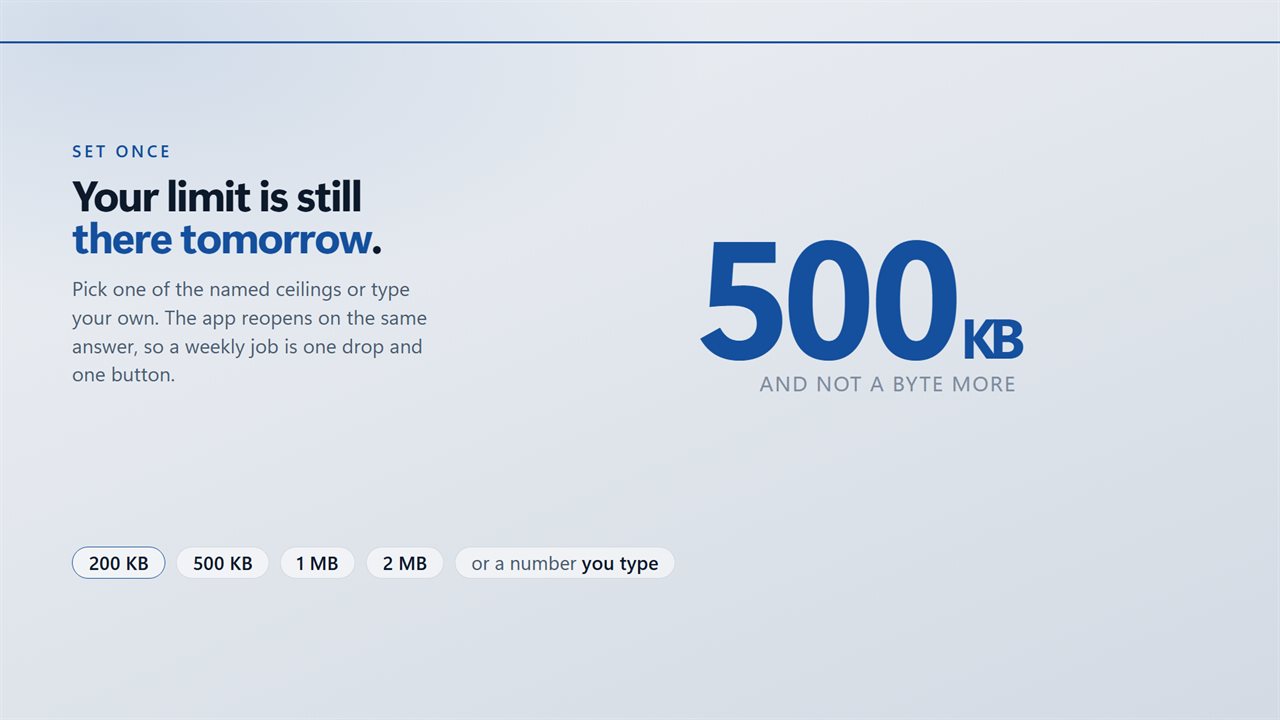
Bulk Image Compressor takes the ceiling instead. Pick a preset of 200 KB, 500 KB, 1 MB or 2 MB, or type your own limit in KB, and press Compress. Each image over the limit is re-encoded at quality 80 first, then stepped down through 72, 60, 50, 40, 32 and 24 until it fits. It stops at the first step that works, so a photo that only needed a small nudge keeps nearly all its quality.
Pictures keep their width, height and format throughout. A JPEG stays a JPEG at the same pixel size; only the encoding gets tighter.
How to compress photos to 500 KB or any size limit
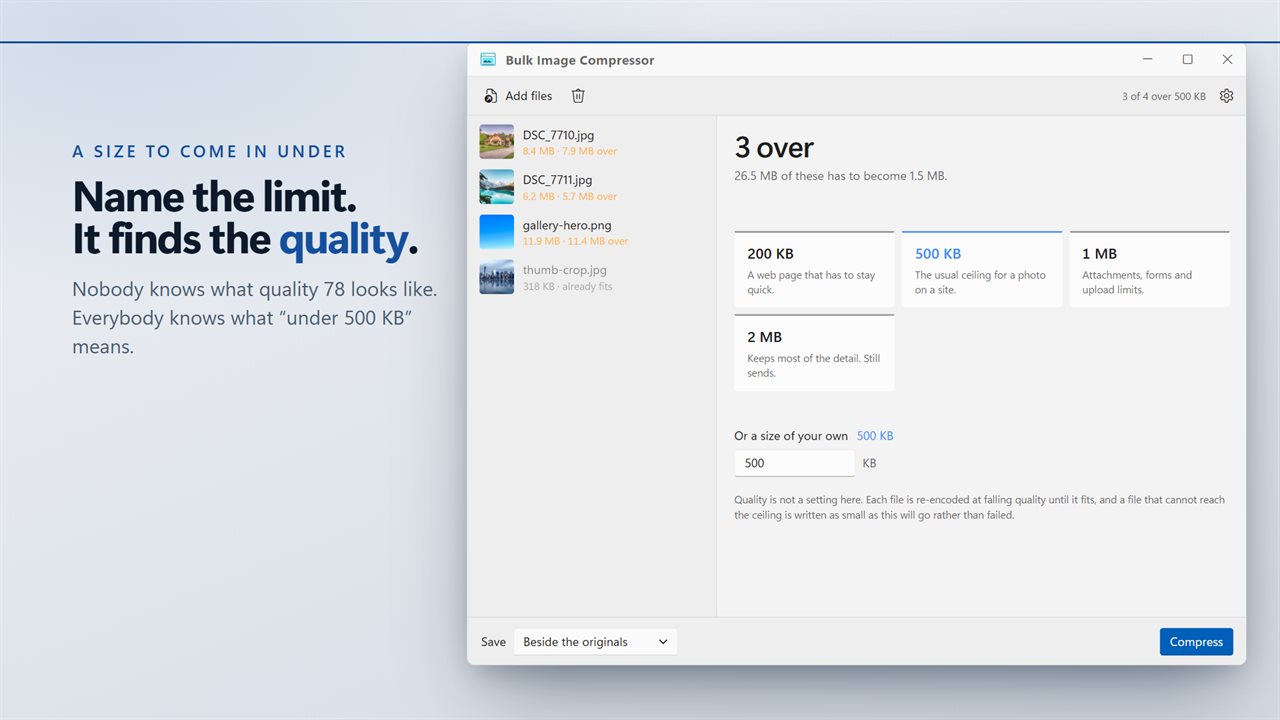
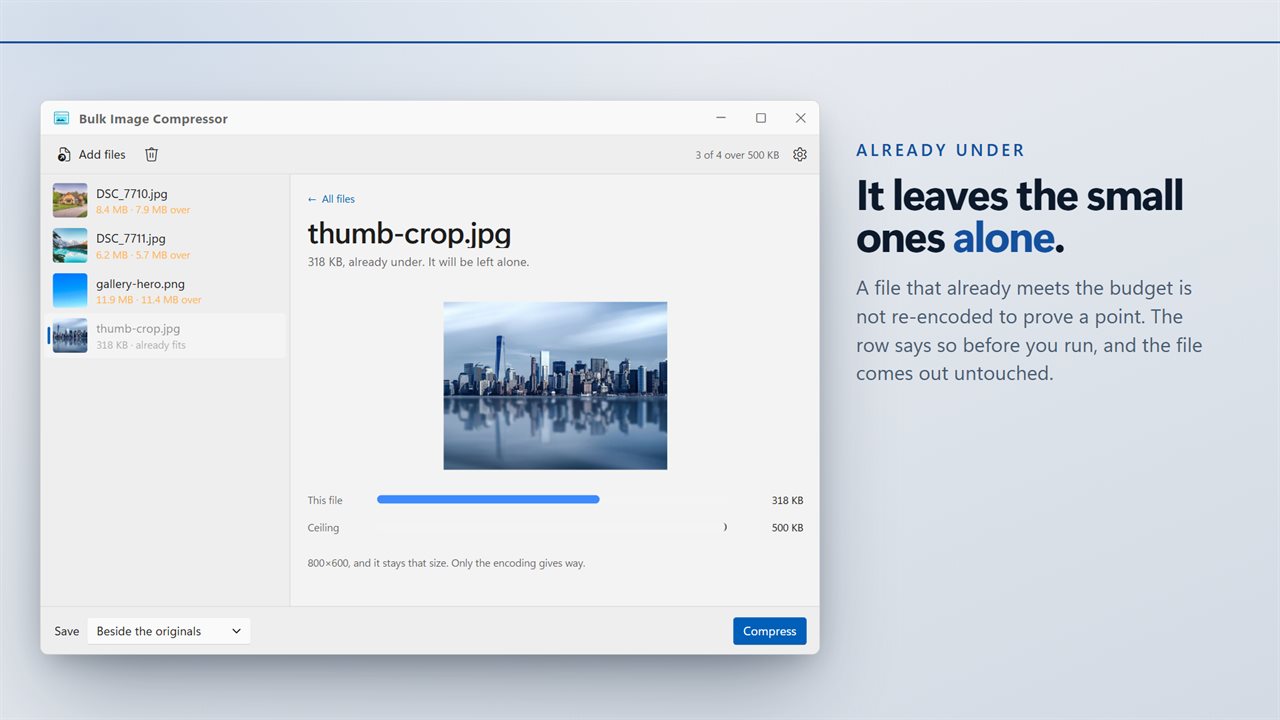
The pane headline tells you how many files are over the limit and how much they weigh together. After the run it reads All under, or names how many could not get there. Click any file to see its size drawn against the ceiling on two bars, This file and Ceiling, so you can see at a glance how close it came.
- Add the pictures or a folder. Each row shows the file's size and whether it is over the limit.
- Choose a ceiling. 500 KB is selected to begin with; the others are 200 KB, 1 MB and 2 MB.
- For a different limit, type it in KB under Or a size of your own. The box takes anything from 10 KB to 204,800 KB.
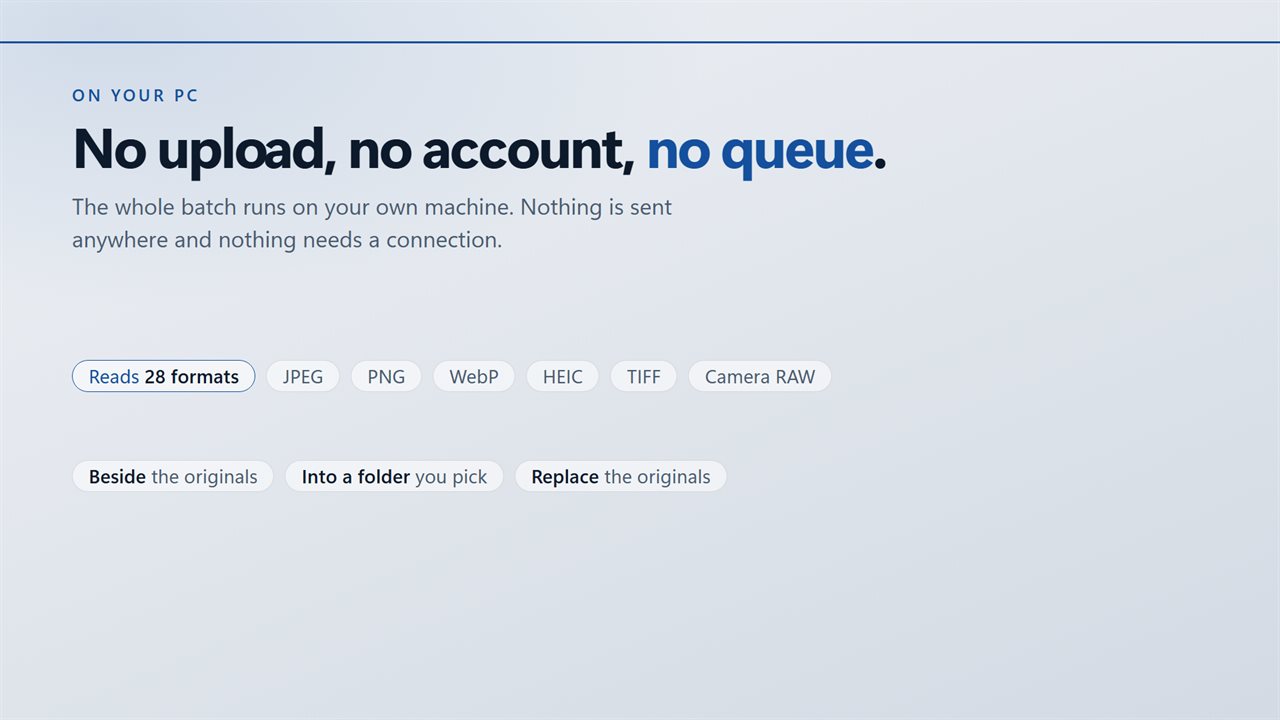
- Pick a destination under Save and press Compress.
Which ceiling to pick
Each preset carries a short note on what it suits. 200 KB keeps a web page quick to load. 500 KB is the usual ceiling for a photo on a site. 1 MB covers attachments, forms and most upload limits. 2 MB keeps most of the detail and is still small enough to send.
1 MB means 1024 KB here, matching how File Explorer reports file sizes. If a portal states its limit in round thousands, give yourself a little room with a custom value.
When a picture will not reach the limit
Because the app never changes pixel dimensions, a very large photo aimed at a very small ceiling can run out of steps. If a file is still over at quality 24, it is saved at that setting rather than skipped, and its row says it could not reach the limit. The fix is to resize it first, then compress.
Format matters too. The quality steps make the biggest difference on JPEG and WebP. PNG is a lossless format, so lowering quality changes little, and large PNG screenshots may stay over a tight ceiling. HEIC photos can be added but not compressed, since the app cannot write HEIC.
Every output keeps its color profile and is rotated upright according to the camera's orientation tag. EXIF data, including date taken and GPS position, is left out of the compressed copy.